ChatMamba CRM is a feature-packed application that can look complicated when getting started. Therefore, this article serves as an introductory guide to walk you through the basics of the system.
Set your notification preference
Getting your notification settings right ensures you always stay informed during events like someone assigning a lead to you (nobody wants to miss that! 😜). To set your notification settings:
- Complete the onboarding guide, which is prompt to you when you first join your organizations
- Click on the “3 dots” icon button in the top-right corner → Notification Settings
Currently, 2 notification channels are supported, namely email and Telegram. We recommend using Telegram as your main notification channel as the deliverability is more reliable

Connecting to Telegram
To connect your Telegram account to ChatMamba CRM:
- Click on Connect to Telegram. You will be redirected to your Telegram app (or website)
- A conversation with the Telegram bot of your organization will be opened.
- Click Start at the bottom of the conversation.
- You will see a “Bot is configured successfully” message that indicates you have connected your Telegram account.

Adding, Assigning, and Updating lead
Since you will be updating your leads data most of the time, it’s essential to know how a lead is assigned to you and where you should do the update.
In this example, we will be adding a test lead and assigning it to you. Then, you will update the data in the system.
Adding and Assigning your first Source Lead
To add lead to the system:
- Go to Source Leads
- Click New Data → Add Data
- Fill in Name, Phone, and Email fields.
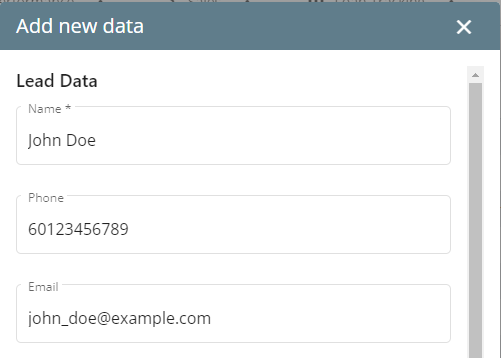
- Then, assign the lead to you
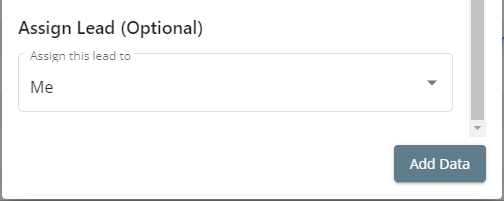
- Click Add Data.
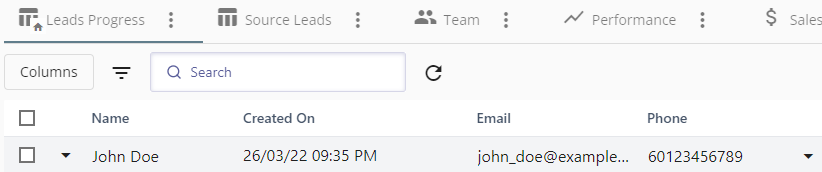
- Congratulations! You have added and assigned your first lead. You should be seeing something similar to the table below.

TipSince you are adding and assigning the lead to yourself, you will not receive any notification. However, there will be notifications when others assign leads to you.
Updating your Lead
Once you have called/follow up with your customer, you should write down the updates in the system. This can help you and your lead assignor to keep track of the progress. To update your lead:
- Go to Leads Progress
- You will see the lead that you have just assigned. This looks very similar to Source Leads where you have just added your first lead. However, there are not the same. You should update all your data in Lead Progress.
TipYou should always update your data in Lead Progress, not Source Leads. To understand the difference between the two, see this article.
- Click on the phone number and change it to some other number. Congratulations! You just updated your first data.
- Your updates are saved automatically and are synced across your laptop, phone, or tablet when you visit the website.