At times, you may wish to let another member to monitor some of the leads on your behalf. You can make use of Monitoring Group to achieve this.
Creating Monitoring Group
To create a Monitoring Group:
- Go to CRM.
- On the top right corner, click on the ”3 dots” button, then click Organization Settings.
- Go to Monitoring Groups.
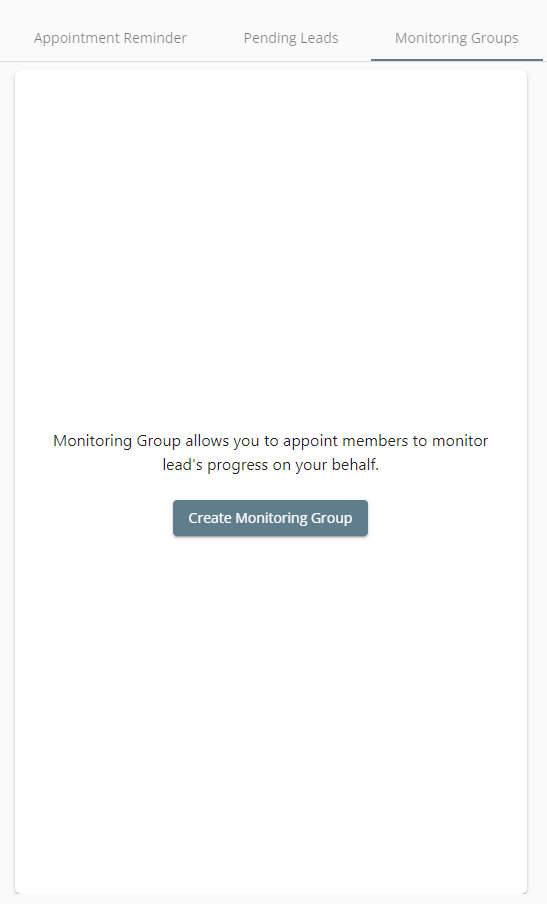
- Click Create Monitoring Group.
Managing Monitoring Group
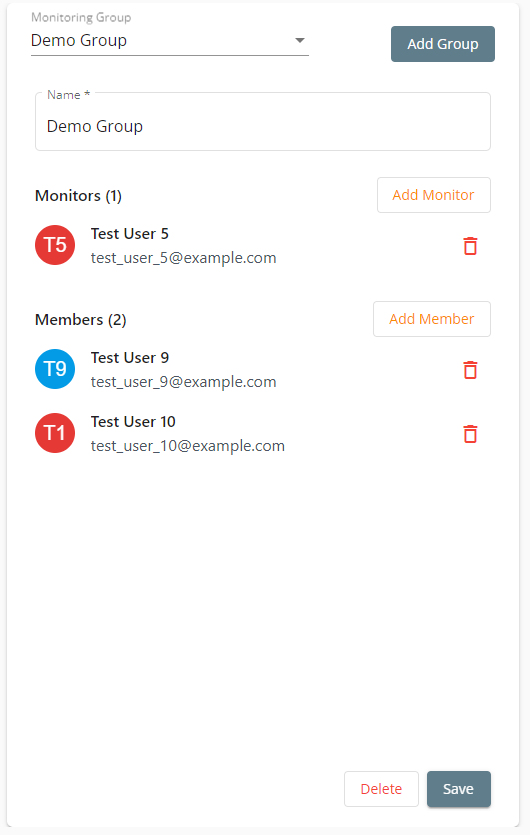
After creating a Monitoring Group, you can assign Monitors and Members to the group.
- Monitor - A monitor is someone who can view the leads of the members in this group, but cannot edit the leads.
- Member - A member is someone whose leads will be viewed by monitor in this group.
Example:
In this group named Demo Group, Test User 5 is the monitor, while Test User 9 and Test User 10 are the members.
So, Test User 5 will be able to view the leads of Test User 9 and Test User 10, but cannot edit them.
Viewing leads using Monitoring Group
- Go to CRM.
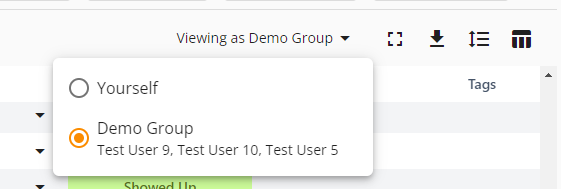
- On the top right corner, you will see a button showing Viewing as Yourself. Click on the button.
- You can then choose to view as the monitor of another Monitoring Group (or back to Yourself).
- If you don’t see the button, or doesn’t see the Monitoring Group, consult with your system admin to ensure you are the monitor of the group.